Quick look inside Venstar T7850 - One of the only 'no-cloud' WiFi Thermostats that plays nice with Home Assistant
This is another one of those posts from my never ending quest to integrate Home Assistant with All The Things!
The thermostat that was installed when I moved in was an early Nest thermostat. These thermostats are - for the most part - well reviewed and liked. I had no complaints… except one.
Google only permits programmatic interaction with Nest devices through their Smart Device Management API. This API is essentially cloud hosted MQTT and requires a small fee to access. There is no way to control a supported Nest device without an Internet connection… even if the Home Assistant server and the Nest device are on the same subnet! 👎
This policy makes it needlessly complicated to integrate the thermostat with Home Assistant and that cripples my climate control automations beyond a tolerable level.
With summer approaching, I started looking for a thermostat that would play nice with Home Assistant. My criteria:
- Work with existing HVAC system and wiring.
- Play nice with Home Assistant, preferably with a local API.
- Cost no more than the Nest thermostat.
- Use TCP/IP over WiFi instead of Zigbee or Zwave.
As it turns out, I am not the only one on a similar hunt:
Which of these thermostats have the best experience with HA?
Best, easiest and of course lowest cost smart thermostat for Home Assistant
The “TL;DR:” of most of those threads is: “Any thermostat with zwave of zigbee will work”.
As most people don’t particularly care about the network protocol(s) used to link Home Assistant to the thermostat, that’s fine advice.
For whatever reason, you have to dig much deeper to find people discussing WiFi based thermostats that play nice with Home Assistant w/o an internet connection but there are a few out there. I settled on the Venstar T7850.
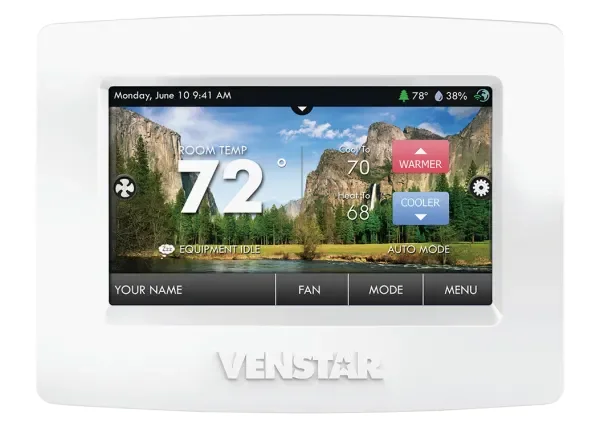
Initial Impressions
Below is a super concise review that is based mostly on my initial impressions / install experience. I have only recently acquired and installed the T7850 so I can’t comment on any of the finer points or drawbacks that could only be known after several months experience with the thermostat.
TL;DR: I wish I had more insight into Google’s disappointing decision to not implement a local API for the Nest; I’ll uninstall the Venstar and put it up on eBay the nanosecond the Nest gets a local API!
An Update on WiFi connectivity
Less than 48 hours after installing the thermostat, I noticed that Home Assistant was no longer able to control it.
Every entity on the device showed Unavailable. Apparently, the thermostat had fallen off the network and was struggling to get back on.
I went through all the usual troubleshooting steps and was able to confirm a few interesting things:
- Changing the network name and password didn’t help.
- I disabled the SSID on my access point and created an identical SSID/network key on an old raspberry pi. The thermostat was usually able to connect to the AP. If I powered down the raspberry pi AP and re-enabled the same network name/key on my AP, the thermostat would not connect. If left on the raspberry pi AP, the thermostat would eventually eventually “fall off”.
I initially suspected that the initial firmware update I didn’t consent to may have broken something and started to look for a way to downgrade the firmware to the previous version that did manage to connect to my AP quickly.
No such luck.
While the thermostat does have an A/B partition scheme, I couldn’t find any way to force a downgrade or even get older firmware files from the manufacturer.
After a few factory resets and additional troubleshooting, I started to look around… and apparently this is not a new problem.
Here are two ‘relatively new’ reddit threads that mention similar connection issues with similar models in the same product family:
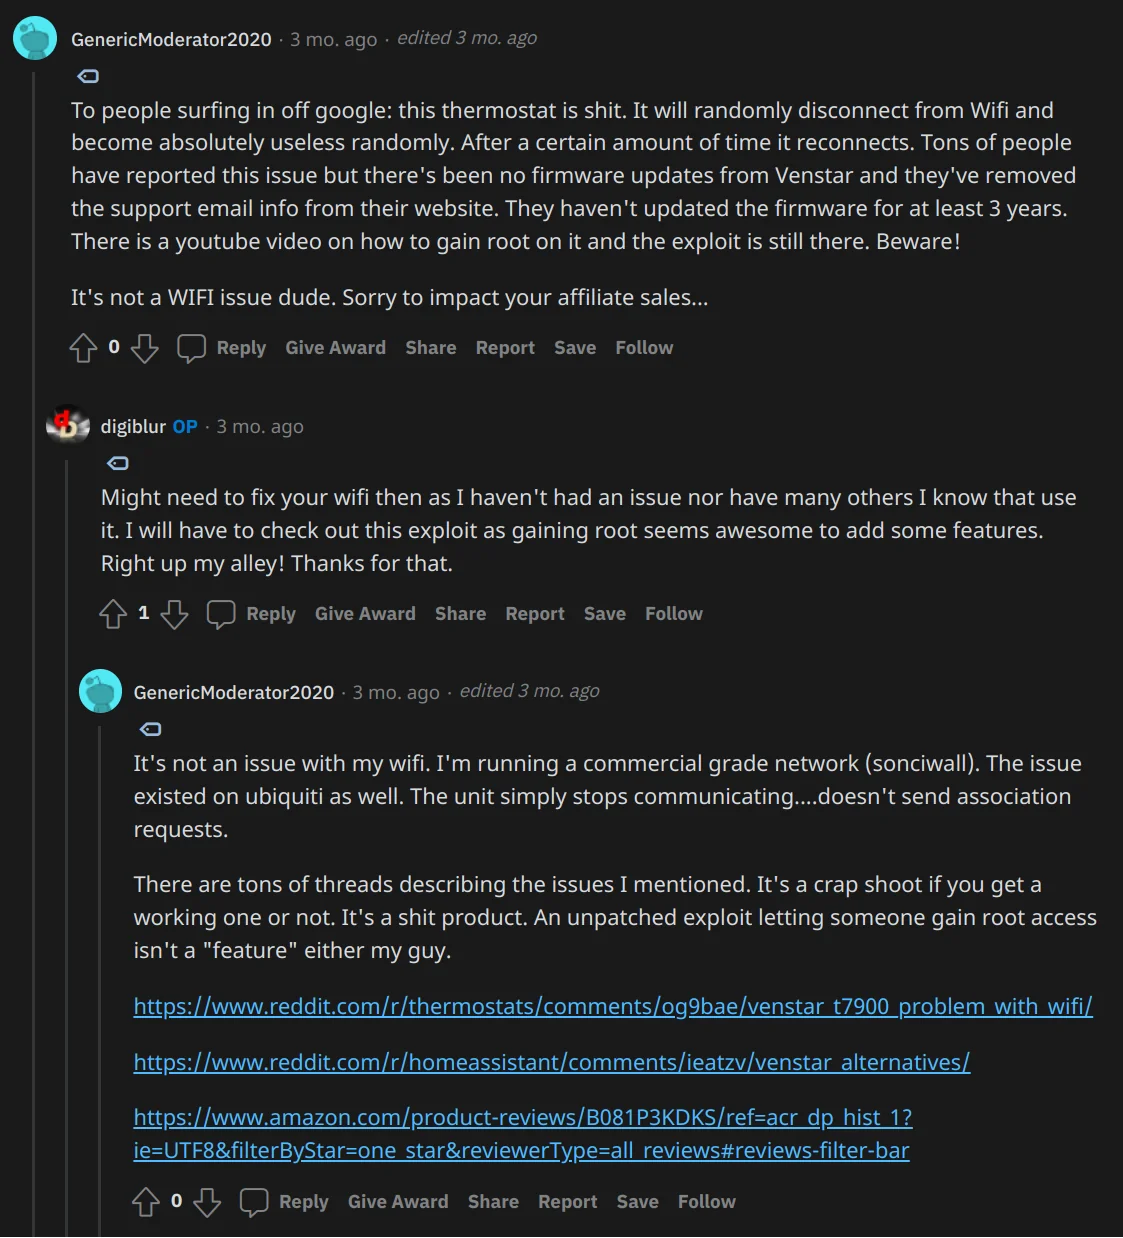
Source: /r/homeassistant post: ALL Local Control Thermostat with MQTT and Home Assistant - Venstar T7900
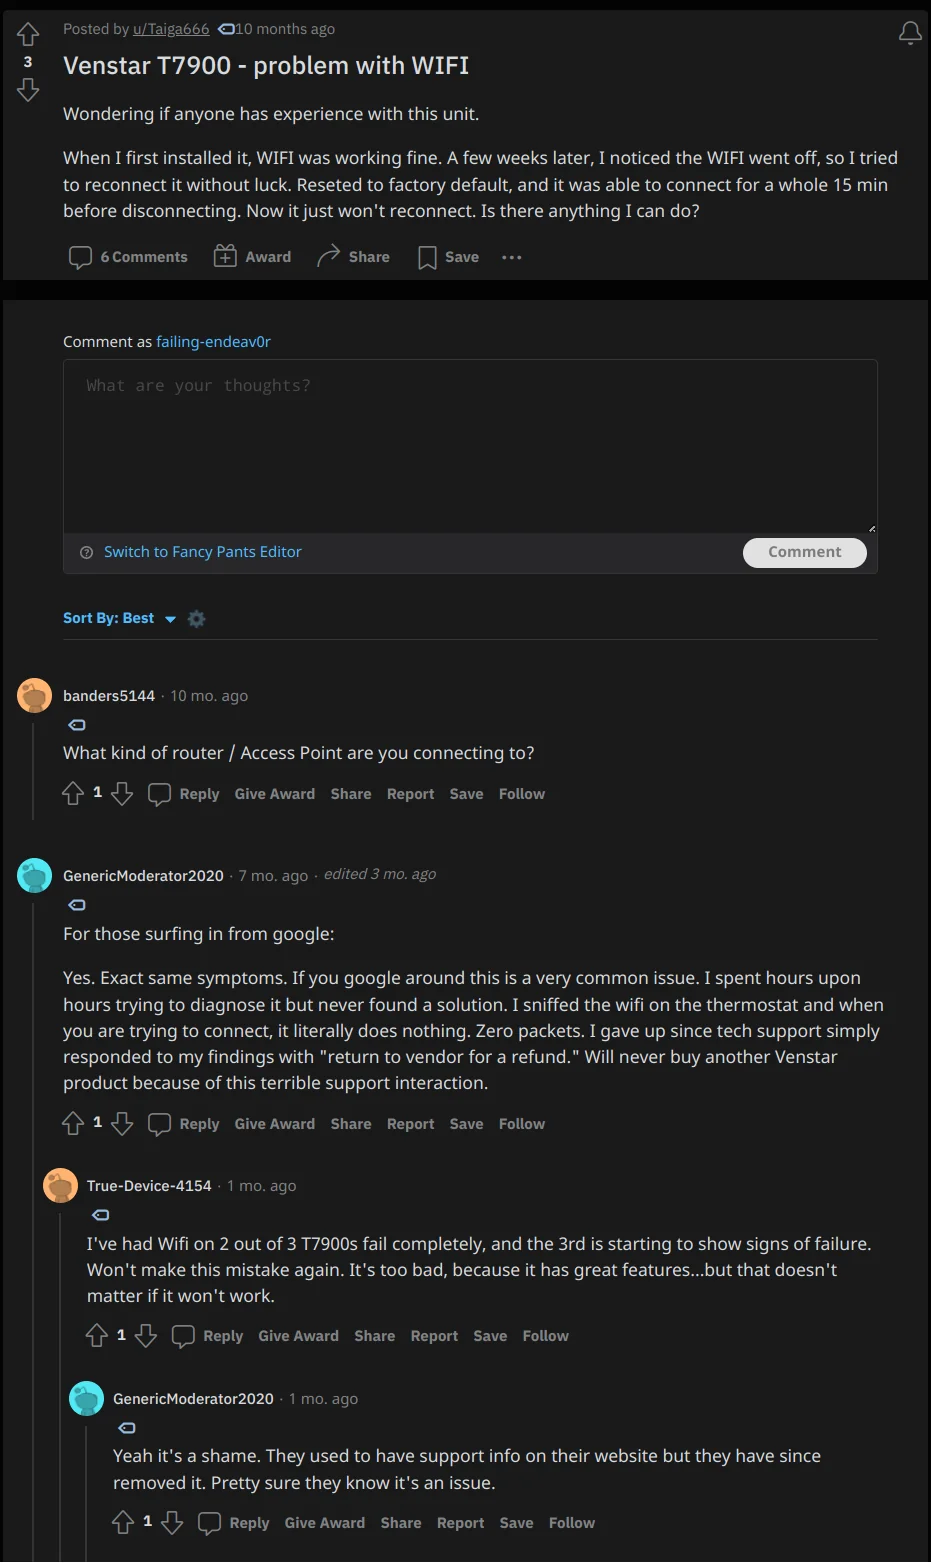
Source: /r/thermostats post: Venstar T7900 - problem with WIFI
And an Amazon question from years ago indicating that this might not be a ’new’ issue:
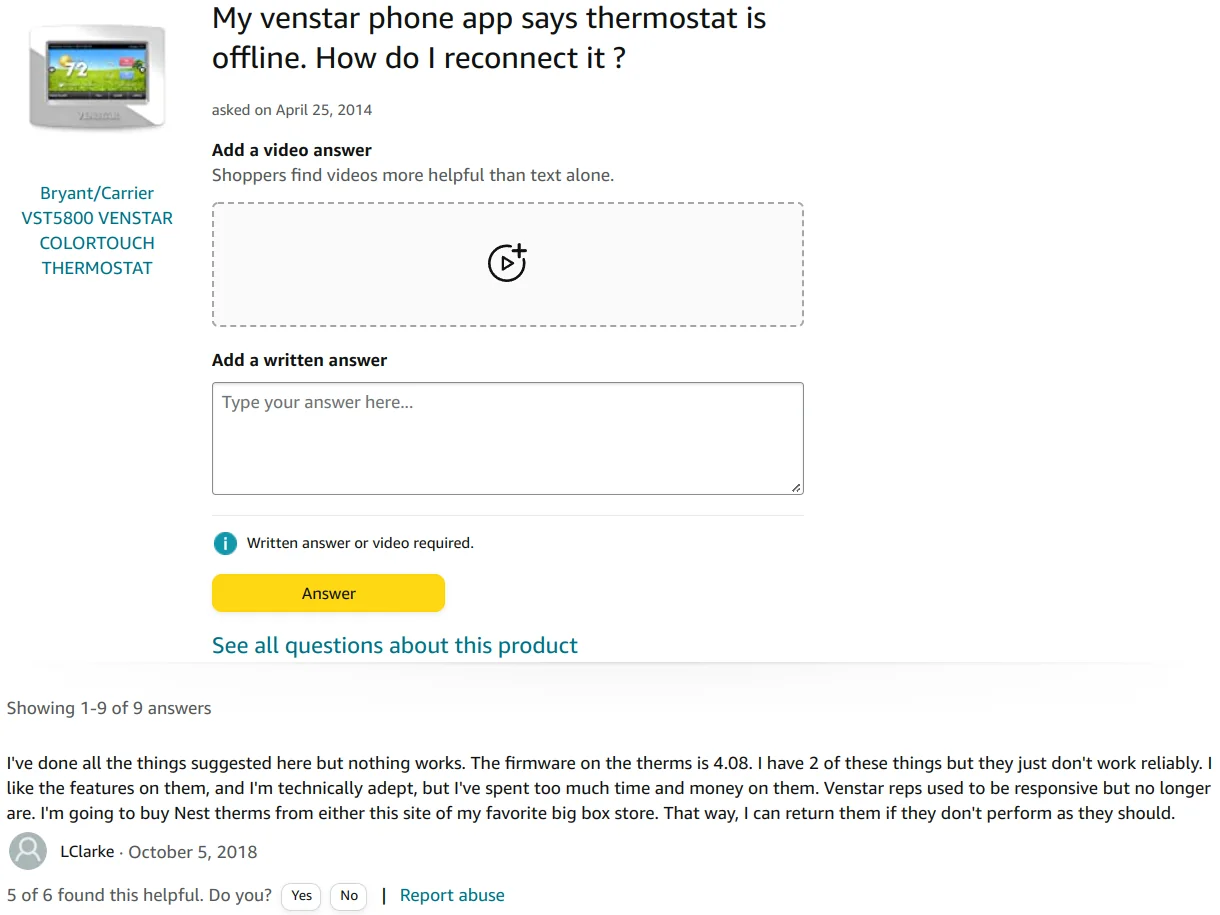
Source: Amazon question: My venstar phone app says thermostat is offline. How do I reconnect it ?
A Home Assistant community/support form poster seems to have a similar issue and even offers a fix… which did not work.
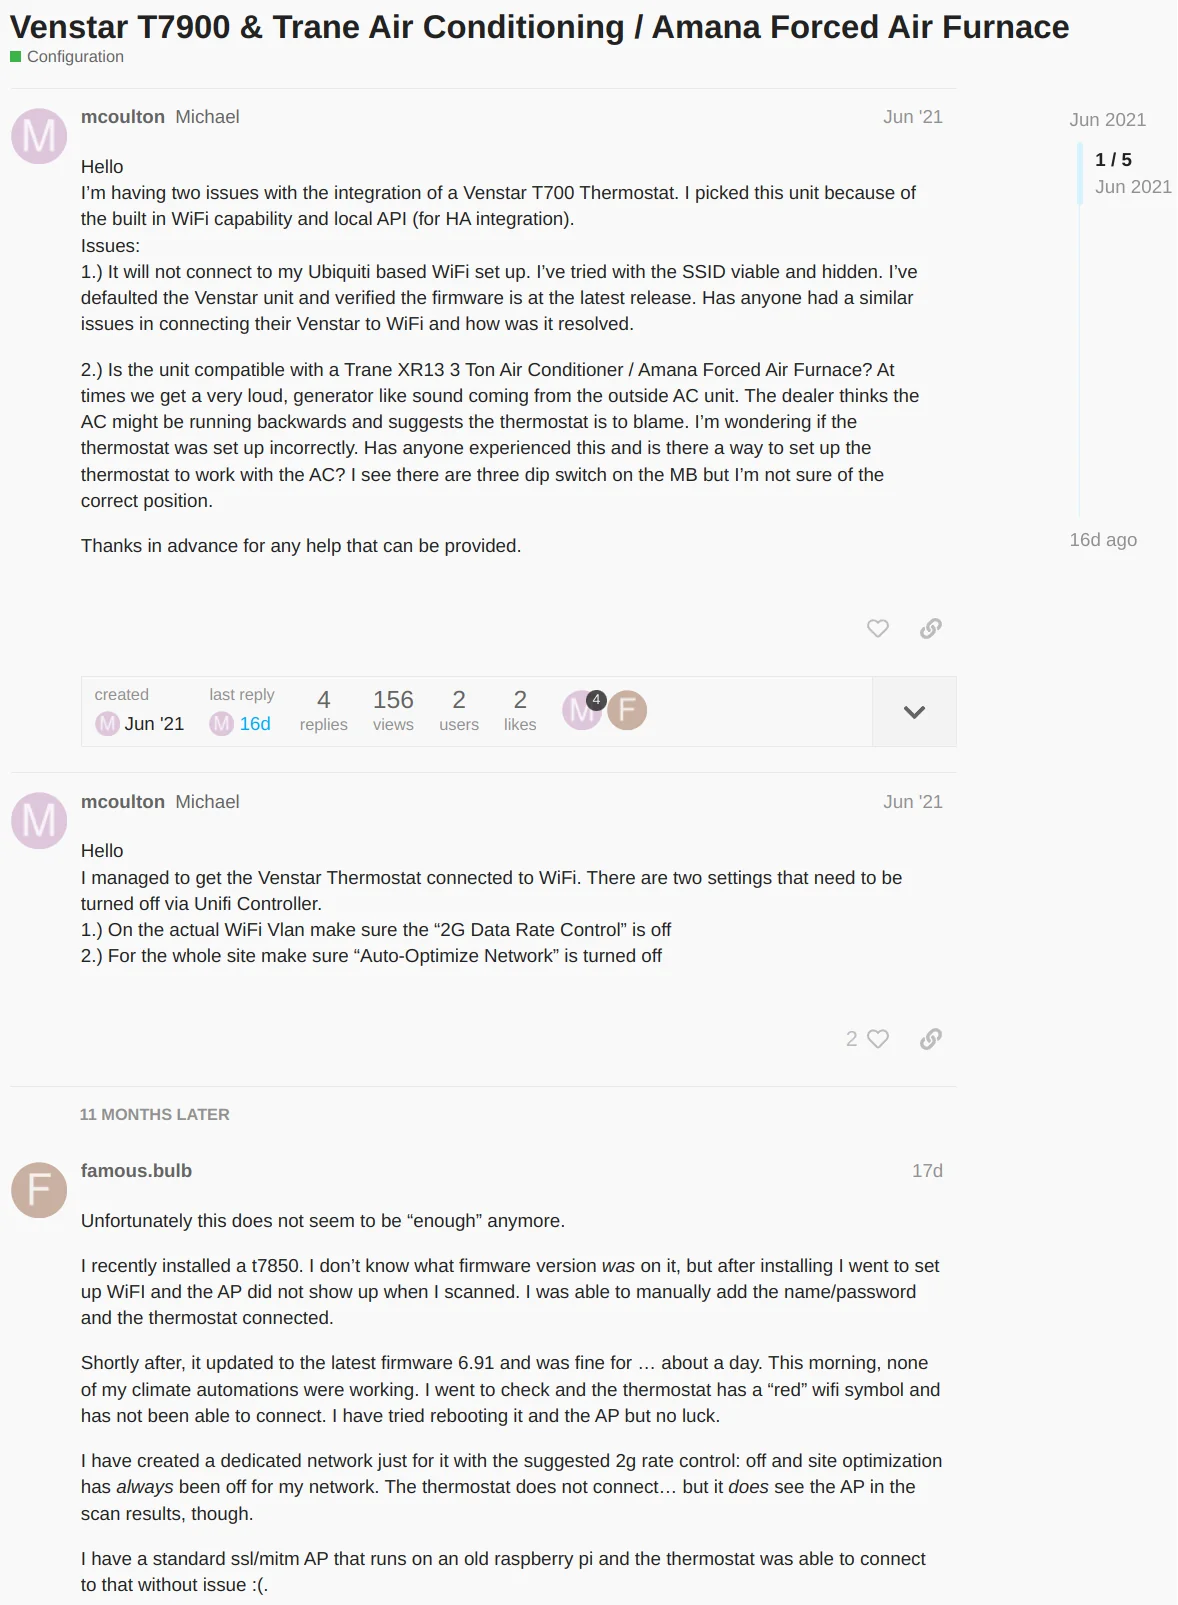
Source: Home Assistant community forums: Venstar T7900 & Trane Air Conditioning / Amana Forced Air Furnace
My access point is also a Unifi AP so of course there are a few threads on the unifi support forums:

Source: Ubiquity community forums: Trouble associating Venstar Wifi thermostats with one particular UAP-AC-PRO
First Alert and Bionaire. It is likely that they also did this for Carrier as well judging by pictures of a Carrier Infinity Touch Control thermostat.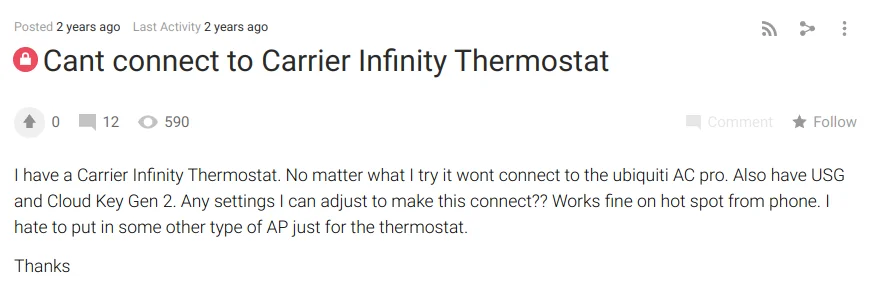
Source: Ubiquity community forums: Cant connect to Carrier Infinity Thermostat
The user name seems familiar; probably the same user from one of the above reddit threads: Source: Ubiquity community forums:
Venstar T7900 Thermostat Won't Connect to WiFi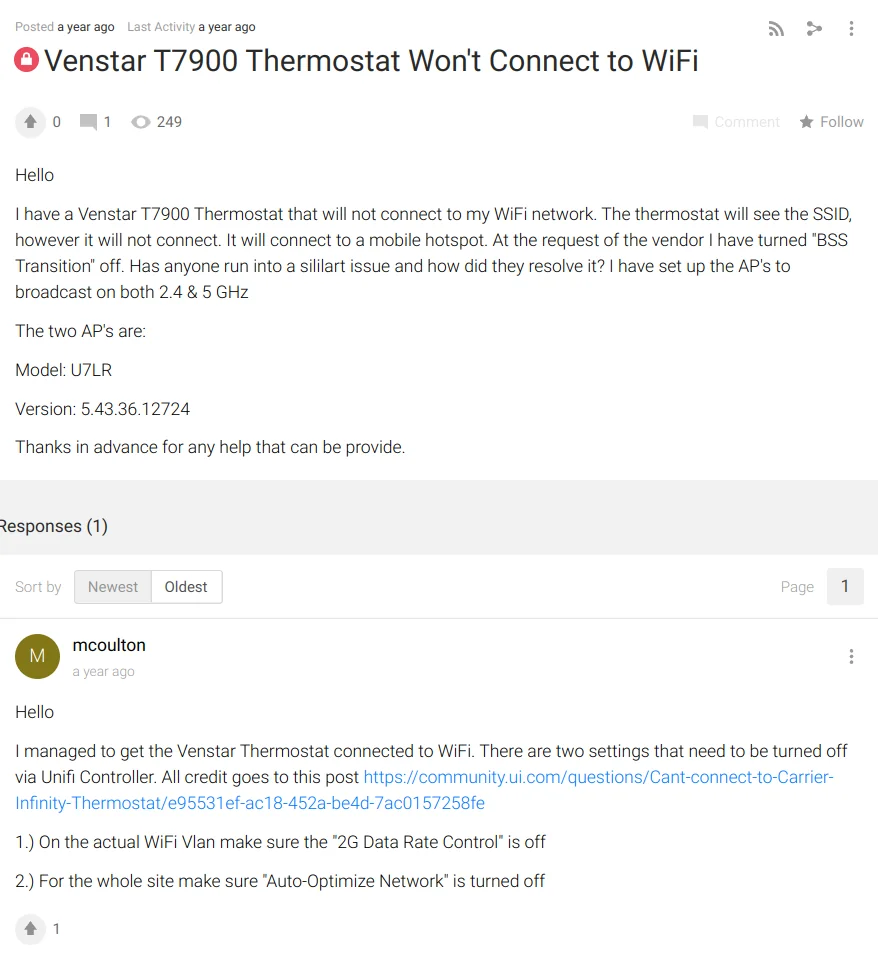
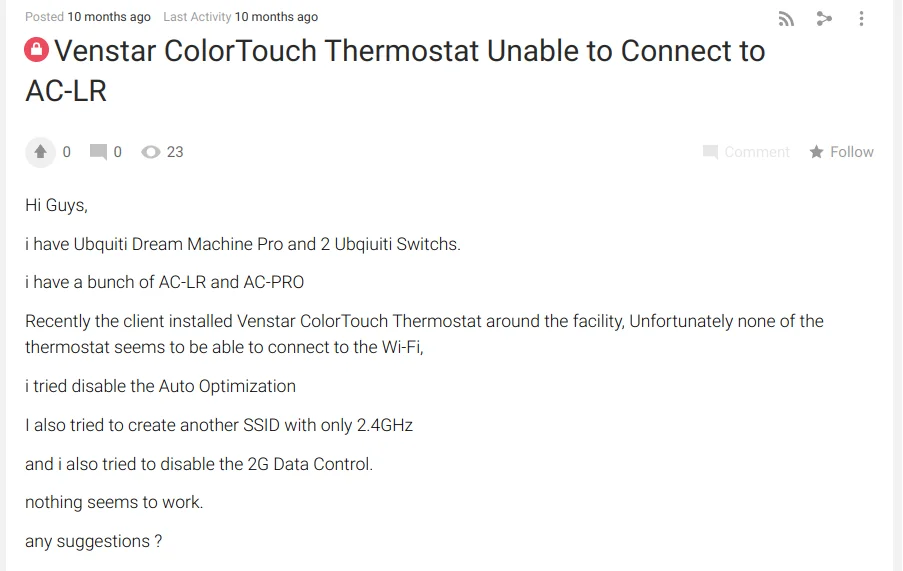
Source: Ubiquity community forums: Venstar ColorTouch Thermostat Unable to Connect to AC-LR
Ubiquity’s Unifi line of wireless access points has a pretty solid reputation for a reason; by and large they just work. I have installed dozens of them over the years and have supported installs with thousands of them and had far fewer issues with those customers/sites than with your typical ‘soho’ routers and other consumer-grade access points.
As of right now, I have a little more than a hundred wireless devices hanging off of the same AP that the thermostat failed to reliably connect to. Over the past several years, I have acquired many more devices and - with the exception of one other device - I have never had issues connecting anything to my wireless network.
Even if only some users experience issues with Venstar thermostats connecting to WiFi, I have to wonder why the issue exists at all. It’s 2022 and there’s no excuse for basic WiFi network compatibility issues like the kind that were more common in the bad old days of early WiFi circa 2005. Somehow, the hundred+ other devices got their WiFi right… what is Venstar missing?
While I didn’t want to introduce yet another wireless’s networking standard to my home, I am considerably happier with the Honeywell TH6320ZW2003 that has replaced the T7850.
The Good
- It has optional cloud connectivity! It’s trivial to turn this off and - as far as I can tell - it is mostly disabled. More on that below.
- API is documented!
- API accessible over HTTP or HTTPS and can be put behind BasicAuth! 👏
- Thermostat has lots of tweaks and options meant for ‘power users’. These settings ship with reasonably sane default values. I suspect that most of these options are included in the “residential” devices only because they’re already baked into the firmware for “commercial” customers that legitimately do need lots of knobs to adjust.
- It’s a reasonably good looking LCD screen; viewing angles are decent and the screen is plenty readable in direct sunlight when the brightness is turned all the way up.
- The piezoelectric beeper can be disabled in software! 🔇
The Bad
- The API is pretty limited.
- The screen has an integrated resistive touch panel. This was a poor choice for for a product design in 2014/2015 and is inexcusable for in 2022! 👎
- There is no way to use your own TLS certificate. You have to use the certificate generated by the device. 🙁
- There is no way to disable automatic firmware updates or view release notes on device. If there’s an update found, the thermostat will download it and restart… even if the user is actively using the device. 😡 Even windows (finally) let you push the update to after you’re done using the device!
- There is no ambient brightness sensor or presence detection sensor so the screen is always on at one brightness level.
- The device has WiFI and communicates with the mothership using TLS1.2… but somehow it does not have NTP support! Yep! This is literally the only internet enabled thing that I own that still requires me to manually set the date/time 😡. What a glaring oversight!
API limitations
The only documented portions of the API cover interrogating the device for state about sensors and mode. Keep these limitations in mind when considering exactly what you want to be able to control via the API.
E.G.: It was very disappointing to find out that I can’t adjust the screen on/off/brightness state via the API! So much for automatically turning the screen at night and waking it only when nearby motion was detected!
There is no documented way to control most of the other device settings that can be manipulated through the screen. Things you can do via the screen but not via the (documented) API:
- Adjust the date / time
- Adjust the screen brightness
- Adjust any program/schedule settings or adjust vacation mode settings
- Adjust setpoint limits (e.g.: don’t let the user try to cool below 25°C or heat above 35°C)
- Set/Disable Screen lock (requires a PIN code to access controls)
- Set ‘screensaver’ functionality. You can’t toggle this via the API nor can you set the “idle timeout” setting or upload custom photos. You have to resort to a desktop / electron app to do so!
I have not bothered with the “skyport” remote control functionality that Venstar offers but their marketing literature implies that some of the above points can be manipulated via their remote service. This leads me to believe that there is more to the API that what is documented publicly.
Given that the thermostat seems to have it’s own CA created by Venstar engineering, I would bet that simple TLS proxy will not be enough to discover any undocumented API endpoints in the unit that could allow for more control.
If anybody does know of a local API endpoint that allows for controlling the screen brightness…please do get in touch!
Teardown
It’s not a particularly complicated device: everything is on one side of a multi-layer PCB. A ton of electronics for directly interfacing with thermostat wires and a few ICs for all the fun stuff!
The photos are mine, taken right before installing the unit. There are more / similar photos at the FCC filing if you’re curious.
I am including mine for some additional detail and as a ‘mirror’ of the FCC photos. Shoutout to the amazing fccid.io ❤️!
The main PCB is readily accessed - just remove the rear panel / wall mount bracket.
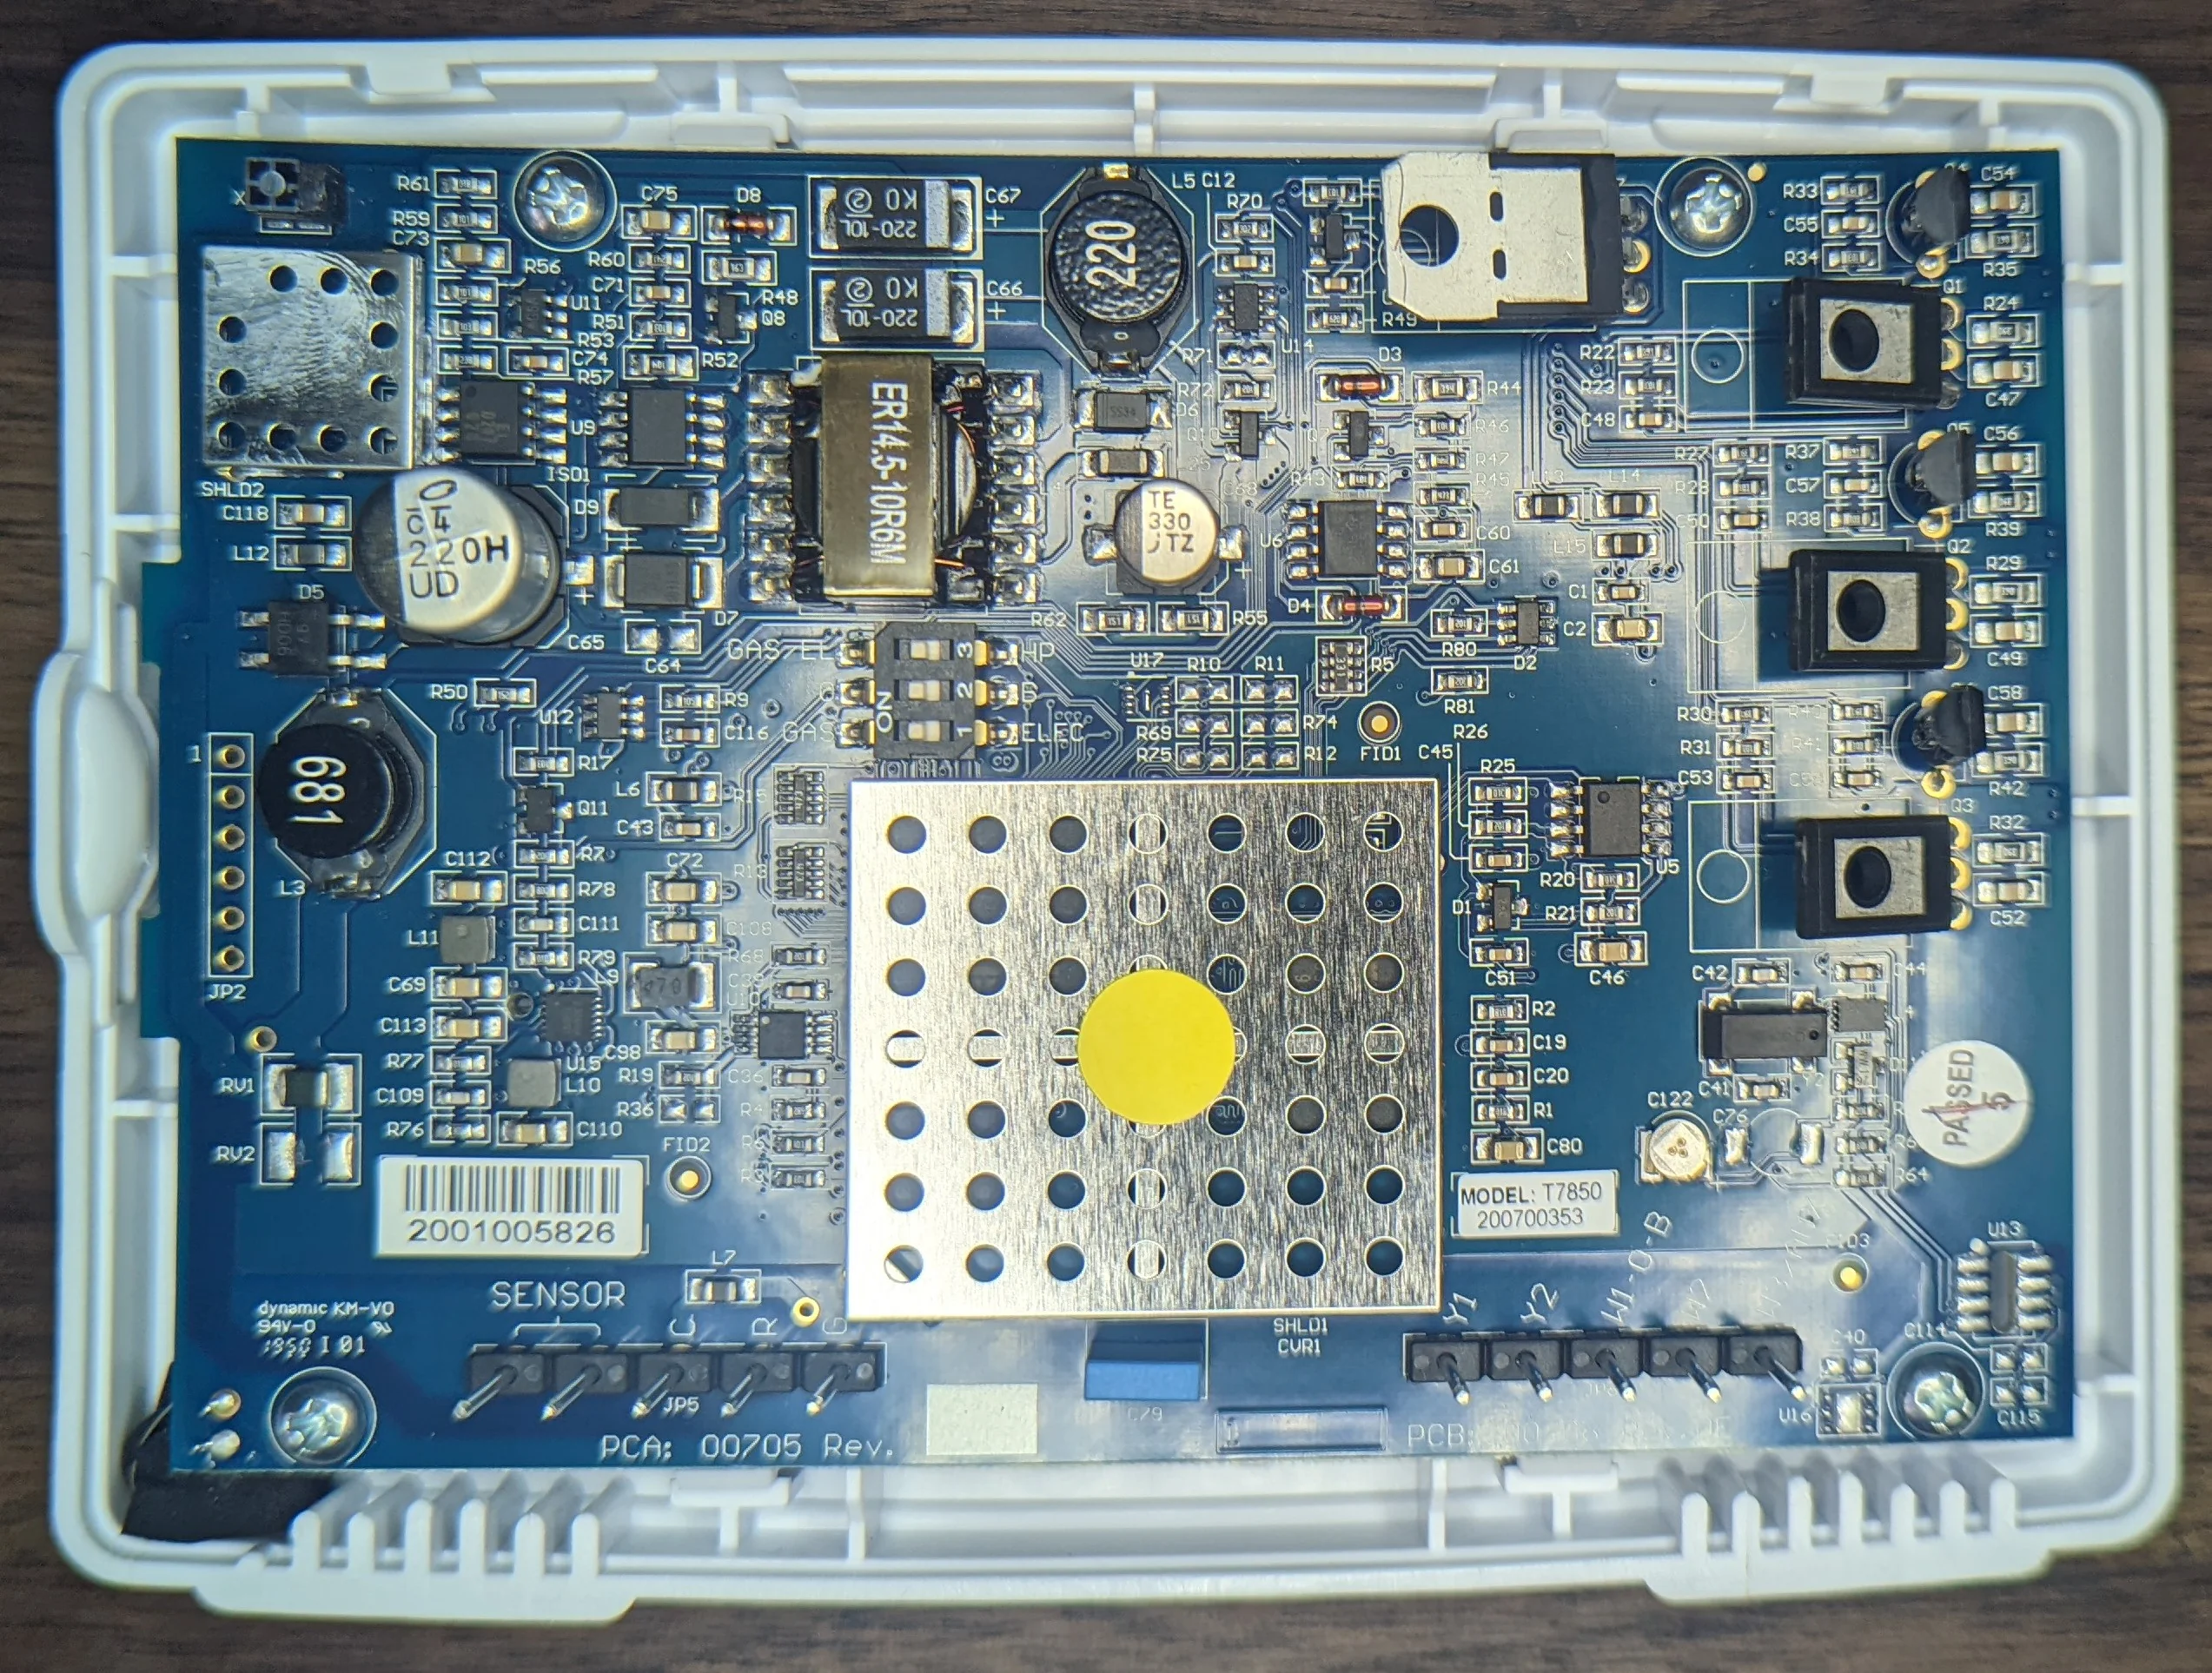
I don't see any (mechanical) relays
Lots of passives and misc ICs and a few unpopulated footprints. This is consistent with some of the documentation on file with the FCC: there is 1 PCB for all 6 products in the family and the only significant difference is the software and the humidity sensor.
If i had to guess, I’d be that U13 is the humidity sensor.
Only one obvious pin header but the silkscreen JP2 implies that there’s another one somewhere (JP1).
The pins are suspiciously close to the full sized SD card and don’t match the pinout for an obvious UART but 6 pins could be JTAG.

There’s nothing remarkable on the other side; just a connection for the LCD and a beeper. At least the beeper module is trivial to “factory delete” if the software option to disable it ever stops working!
The full sized SD card is for users to store photos and firmware upgrades. Photo parsing is notoriously tricky so there’s a decent chance that a malicious photo could be crafted to attack the thermostat. 🤔
All the business logic lives under the big metal shield. I didn’t probe the two test points but they certainly look like they could be UART or similar interface to the app processor.

Highly integrated ARM with external flash and ram. Almost a given these days!
Here’s a partial shot of the LCD panel barcode.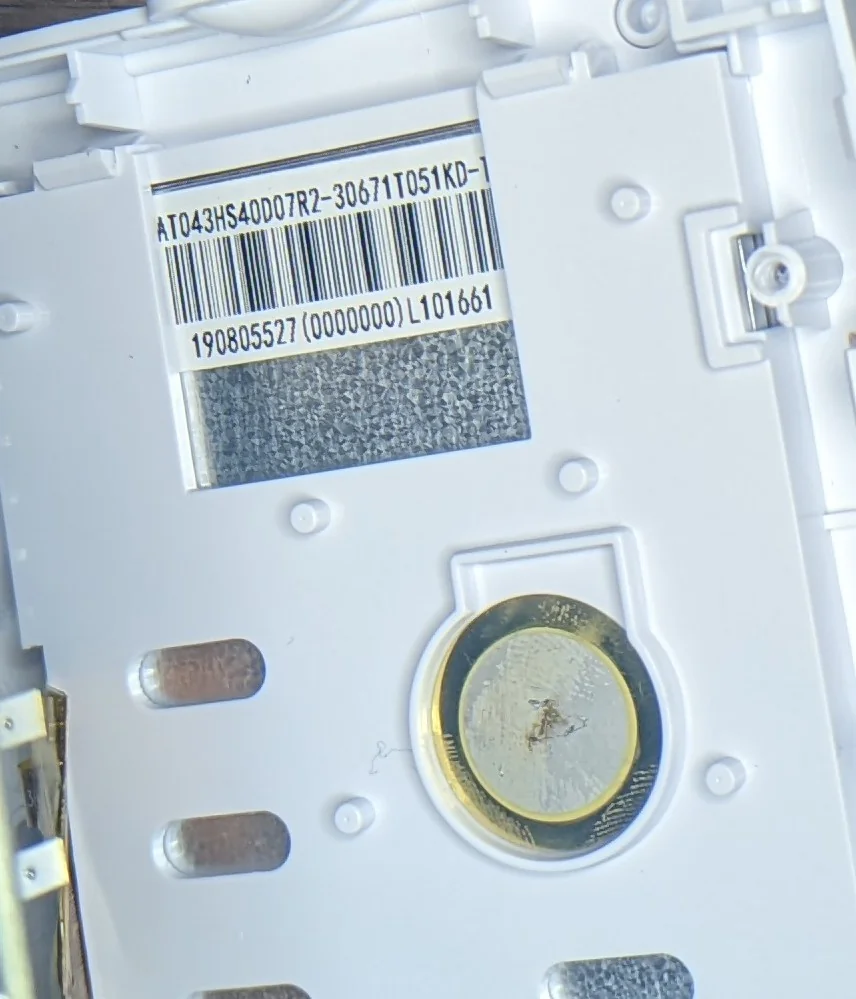
And a quick bonus picture! I took this just a few moments after the thermostat had been installed and powered up. I had connected it to the WiFi network just 45 seconds before and was exploring the system settings when the unit locked up for a second and then kicked me to this screen:
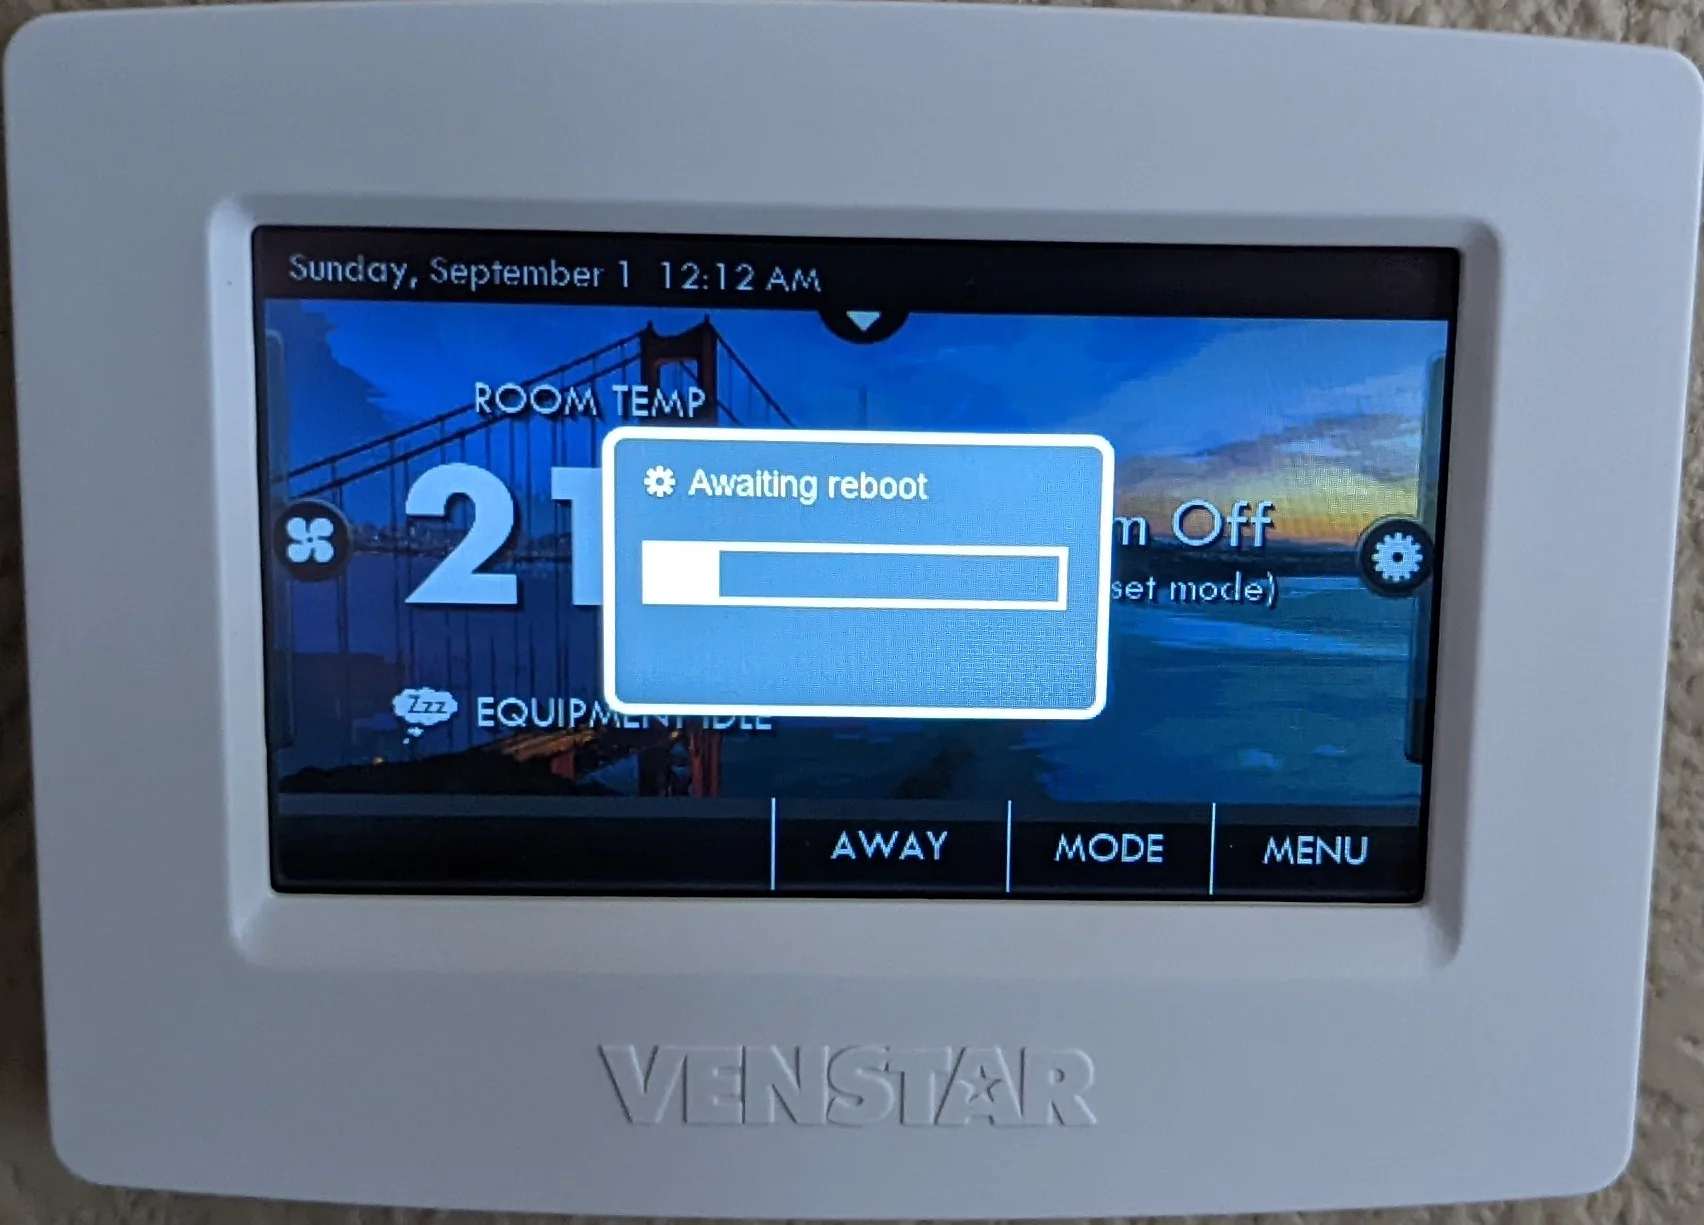
No way to cancel or defer. No explanation of 'why'!
There was no explanation for the abrupt reboot but after the device came back, the system settings indicated the device was running the latest firmware.
Note: Look at the date/time! The device obviously has been able to phone home and download the latest firmware file… but does nothing with the NTP server it asked for (and received!)
Other technical details
Firmware
The firmware updates can be obtained through the desktop app. They are written out to a SD card with this directory structure:
| |
The dealerlogo - Copy.jpg was me testing something related to the “user photos” function of the desktop app. The gallery/*.bin files are just re-sized jpeg files.
There is a mechanism for backing up / importing settings using bin files which are just json files store in the root directory for the device model; VH in this case. Those files are not pictured above as I discovered the export function after I drafted this section of the post.
I could do a whole series of posts on reverse engineering the firmware but that’s going to have to wait for another day / more time. In the interim, here’s some of my findings:
- The user interface is javascript. Yep! The entire interface is a single page web app that seems to be hosted by a binary called
maestero2. Not much comes up on google, but this repo does seem like it could be related.- I can see in the source code where the javascript controls the LCD backlight… so there is absolutely no good reason why I can’t do the same via the “local API”.
- The device appears to use mutual TLS when talking to the remote endpoints. Try to make a request to
https://ctupdate.skyport.io/feedand you’ll see the server ask you for a certificate :D.- I don’t know if the certificates are per device or not. The certificates are stored in a separate
jffs2partition which is not distributed in the firmware updates (as best I can tell). - There are a few strings that mention code signing certificates but I have not probed the firmware update routines in depth to know how it all works.
- I don’t know if the certificates are per device or not. The certificates are stored in a separate
- It appears that the TTY is disabled and there are no telnet/ssh services started on boot so it’s unclear how the
rootuser can be used remotely… but I did find this in/etc/shadow:root:$1$JEstzl9y$Ed7nAJIsY/0irewnqZoqn1:10933:0:99999:7:::.
network
skyport functionality has been switched off, I still see the thermostat phoning home to ctupdate.skyport.io on startup. In addition to the usual “write firewall rules preventing WAN access”, I would suggest sinkholing the skyport.io domain.Like with all new devices, I ran tcpdump while setting it up. Almost all of the traffic was TLS1.2 protected but I did notice a few interesting things from the packet capture.
Immediately after booting / joining the network, the device sends out a DHCP request:
| |
Note: de:ad:bf is replacing the actual octets of my thermostat MAC :).
Interesting! The DHCP server explicitly asks for a NTP server and then the thermostat … does not use it!
The udhcp 1.29.2 string implies a relatively recent build of - possibly - busybox running the show…
The next packets after that are basic SSDP and IGMP:
| |
| |
DNS
And just before the TLS traffic, there is a single DNS query:
| |
Web server
After setting a user/password and selecting the https option for the local API, here’s what I see:
| |
The thermostat was pretty well closed off. nmap came back with port 53 and 443 open. Taking a closer lok at 443:
| |
And taking a closer look @ the web server:
| |
Unfortunately no headers that leak details about the web server implementation. 😒
ICs and distinguishing markings
As noted above, the WiFi module was covered with a soldered on shield. Fortunately, the FCC filings give a good look!
The chip is a muRata Type ZX WiFi Module which is the same WiFi radio thats inside the Nest Protect!
The larger of the two metal shields on the PCB can be removed giving a look at the main application processor:
W971GG(probablyW971GG6JB) - DRAM.W29N01HVBINA: 1gigabit flash.AT91SAM9G15- ARM926 with the peripherals needed for driving a LCD and reading from the resistive (🤮) touchscreen
The LCD is marked with (partially visible):
| |