home lab: mini 'universal' patch panel
This is another brief “i made a thing!” posts.
Version 2
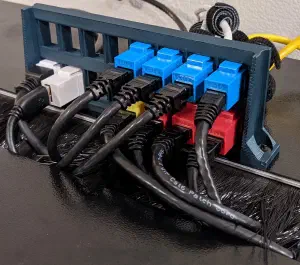
Update 2020-12-12: I outgrew version 1! I needed a few more ports and didn’t have much time… so I just scaled the part up to double the number of jacks. The links below and the thingiverse and prusaprinters links have been updated w/ the new STL files. Printing and attachment works exactly the same as with the 1x8 version. Rather than include the Fusion360 source, I have included a standard STEP file.


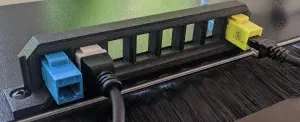
Yes, I do need to re-do the cable runs; they're a mess
What
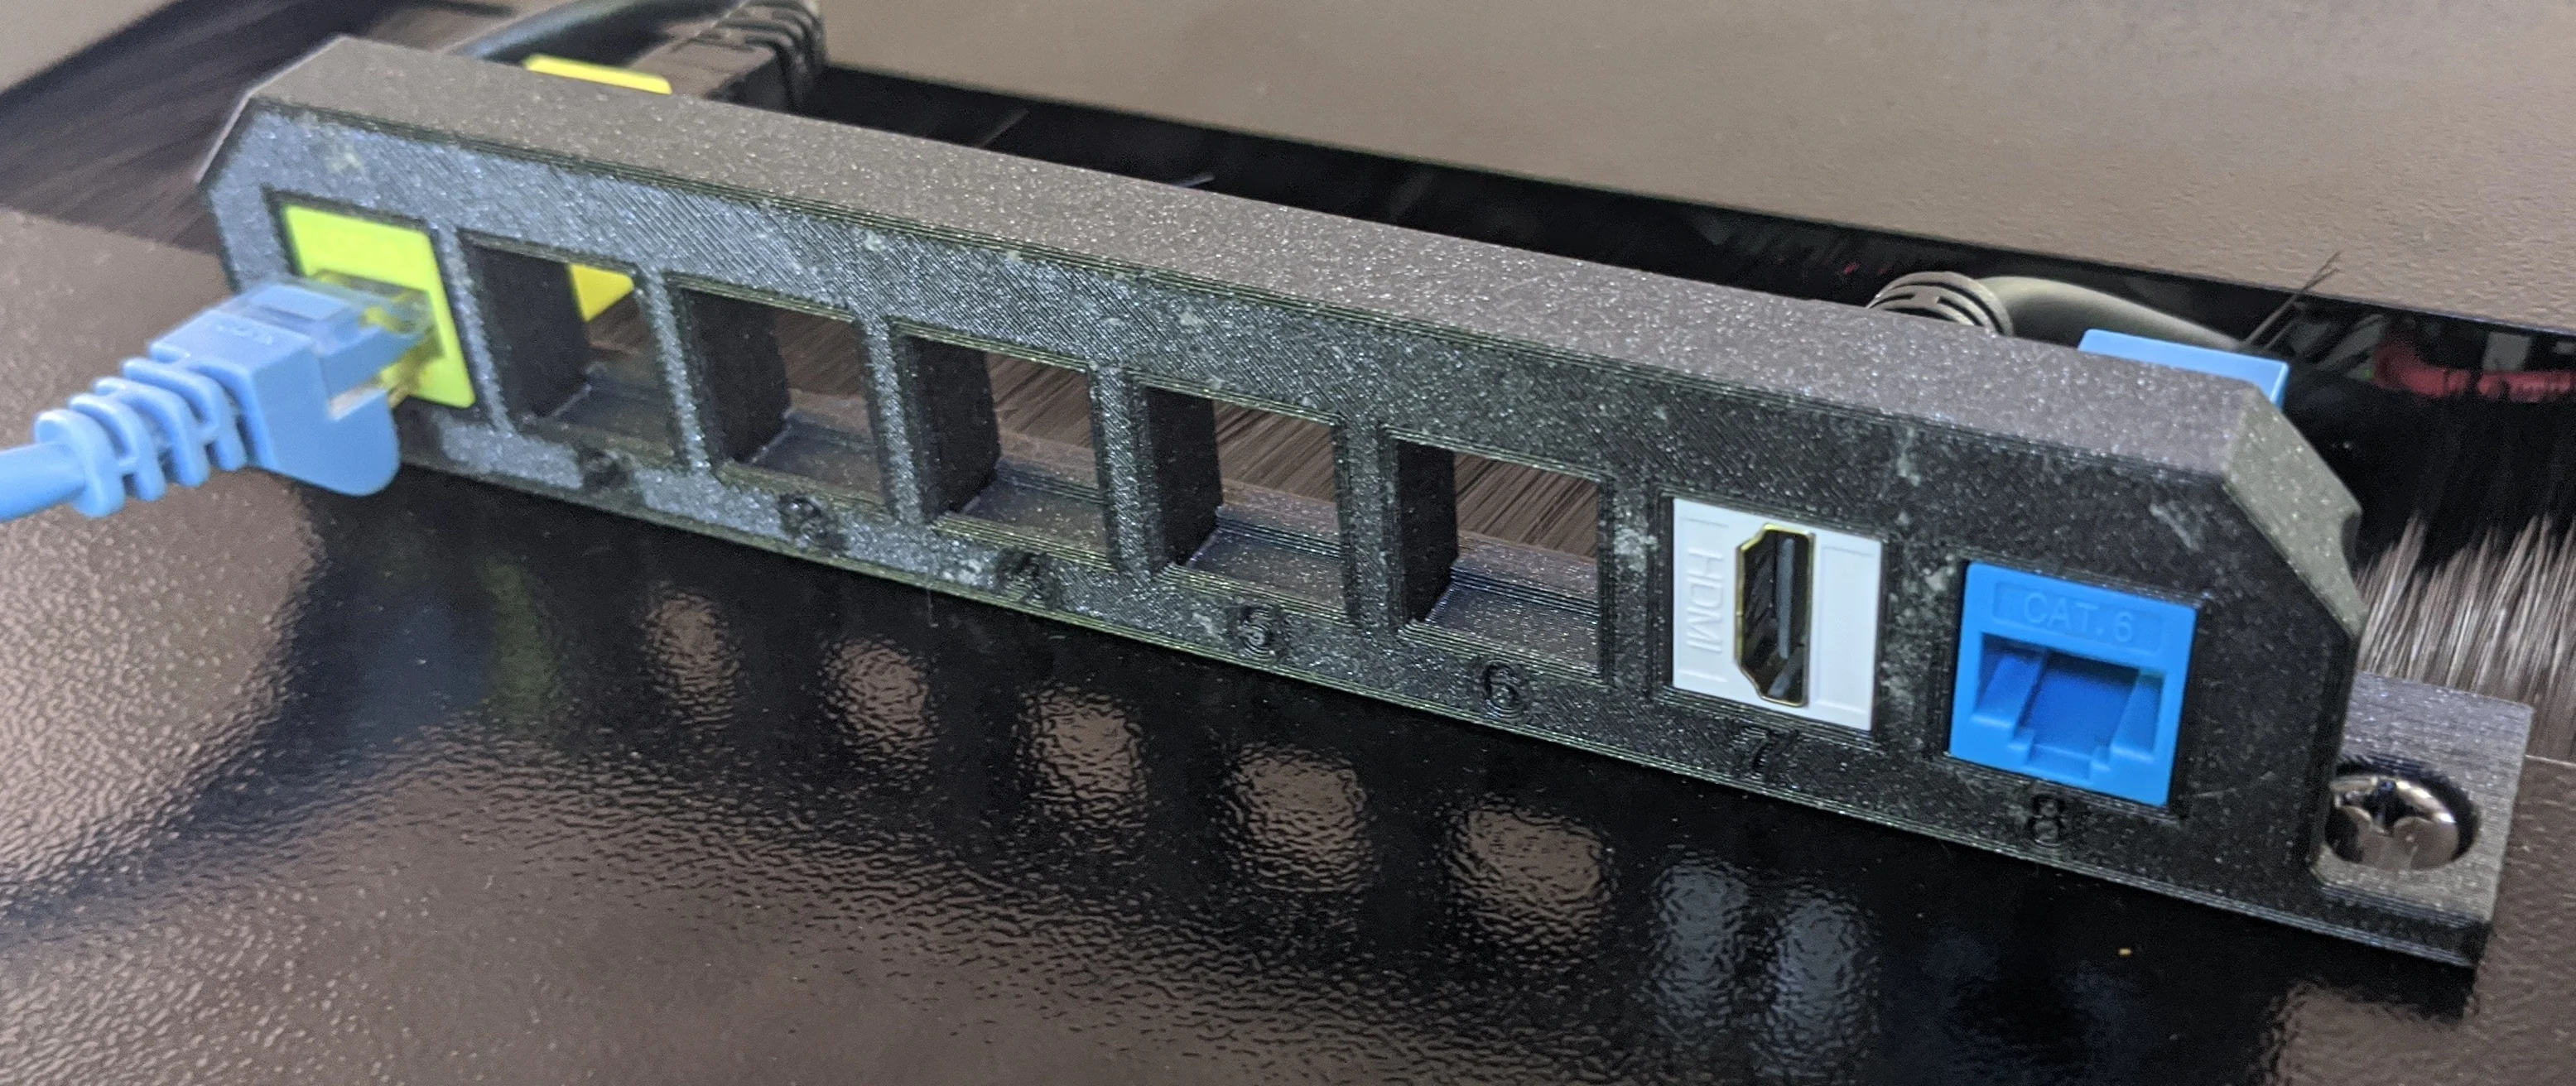
Taking the side / rear of my rack off every time I needed to change which host(s) were connected to the monitor was starting to get old. Only recently did I realize that you can fit more than just RJ45 jacks in a Keystone Jack. A few measurements, a quick search through thingiverse and some CAD time later, this is the result.
The model is tailored to my specific rack, but should be easily adoptable to any other dimensions. Import the Fusion360 model and then edit the first sketch in the timeline as needed and adjust the pattern on line step to adjust the number of keystone jacks.
Of course, you can always just glue the print to whichever surface you need it mounted on as there’s plenty of broad/flat surface for adhesive if the two built-in screw holes won’t work!
As is, the model has:
- 8 jacks
178.5mmfrom ’edge’ to ’edge’ between the two screw holes6.5mmdiameter for the holes as my rack uses M6 screws.
Note: After printing the model you see in the pictures below, I added a small cutout which should make it easier to depress the clip on the ‘male’ end of a keystone device from the ‘user facing’ side as you’d typically find on a proper patch panel
All in all, I’m quite happy with how it turned out: 8 jacks is more than enough for current and (projected!) future use. The only obvious improvement would be moving the numbers from the bottom to the top where there’s more room. As it is now, the perimeters around the numbers look a bit weird as they merge w/ the bottom edge that are flush w/ the rack and the top edges that are flush w/ the jacks.
Many thanks to belfers for the Keystone model.
The details are on the thingiverse and prusaprinters page.
Printing
Any material and at least 10% infill should be fine. No supports if you use the suggested print orientation shown in picture below. Tolerances on the jacks are somewhat tight so printing at a more accurate setting is probably going to be a good idea.
Files
For archive / posterity, all source files are included here. All files are licensed as Creative Commons Attribution-NonCommercial-ShareAlike (CC BY-NC-SA).
- models/v1_keystone-bracket.3mf: 3mf file
-
models/v1_keystone-bracket.f3z:
f3z file
Fusion360 Archive - models/v1_keystone-bracket.stl: stl file
- models/v2.3mf: 3mf file
-
models/v2.step:
step file
STEP file - models/v2.stl: stl file

Suggested print orientation 
Yes, I do need to re-do the cable runs; they're a mess